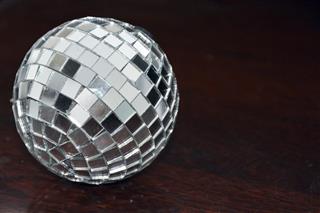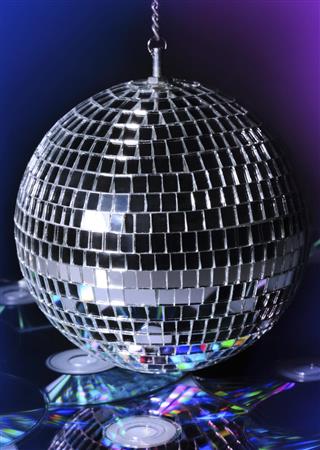
What’s synonymous with a party? Drinks, music, dancing, food, friends, and disco balls, of course! Did you know how easy it is to make a disco ball by yourself? Not only is it easy, it is also so much fun! Don’t believe me? Read this article to find out for yourself.
A disco party is incomplete without the disco ball! This wonderful piece of art adds shine to a disco party and is also referred with other names which include, mirror ball, glitter ball, ball mirror, or specular sphere. These balls are easily available in the market. But did you know that you can make a nice shiny disco ball by yourself and that too with very few equipment. Scroll down to learn how to make one.
Material
- Ball
- Shiny silver paint
- Mirror chips
- String
- Glue
Step #1
Take a ball of the required size and one which is compatible with glue or adhesive and paint. A solid foam or rubber ball can be a good choice. Then, take the shiny silver paint and color the disco mirror ball thoroughly with this paint. This paint will help you to avoid those gaps, that will form after pasting the mirror chips. Instead of silver color, you can go for any other color, like golden. After painting the ball completely, keep it aside to dry.
Step #2
Once the color on the ball dries, it’s time to work with the mirror chips. Mirror chips are easily available at all arts and craft stores and you can select mirror chips according to your choice. Select mirrors of different colors and shapes, and make sure you buy enough to cover the entire ball. It is recommended that you go for small square shaped mirror chips.
Step #3
Use a glue that is appropriate for the surface of the ball. A wrong choice of glue can make the mirror chips to fall out. Now, take the mirror chips and the glue and start working from the center of the ball. Tie a string around the center of the ball and work along this string. This will ensure a straight row of mirror chips. So, work the mirror chips on the ball, row by row. With the completion of all the rows, your disco mirror ball is ready to use.
How to Make a Disco Ball with CDs
Material
- Foam ball
- Glue guns
- Scissors
- Unwanted Cds
- Stick
- String
Step #1
The first step is to cut the unwanted CDs. Take the unwanted CDs and cut them into small squares with the help of scissors. You may also use kitchen shears to cut these CDs. While cutting them, make sure that the squares are cut with fine edges and they are more or less of the same size. Once you are done with cutting the squares, collect them in a bowl and keep them aside.
Step #2
Now, take the foam ball and the glue gun. Before gluing the CD squares on the ball, pass a stick and make arrangements to hang the ball with a string. The gluing of the CD squares should be started from the center of the ball. You can draw horizontal faint lines on the ball with a pencil and glue the CD squares by aligning their edges with these lines. First, complete one row of CD squares at the center of the ball and then move towards the top. Once you are done with the top part of the ball, work the bottom part and finish pasting all CD squares on the ball. Leave the glue to dry and your disco ball is ready!
Additional Tips
- Use a ball that can hold the weight of the mirror chips or the CD squares.
- If you are using hot glue, then place a bowl of cold water beside you, to avoid serious injuries.
- Choose the size of the ball according to your requirements. When you are making one for first time, go for small-sized ball.
- For a more sophisticated ball, go for mirror chips instead of CD squares.
- While making one with CDs, soak the CDs in hot water for sometime. This makes easy cutting of the CDs with well-defined edges.
A disco ball is certainly a splendid party accessory. Make one for your house party and set up a cozy yet disco-ish atmosphere for you and your friends.
