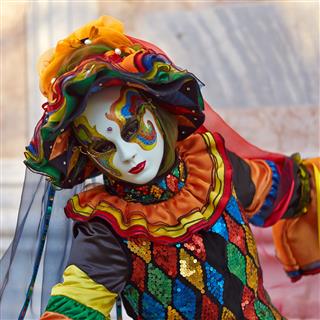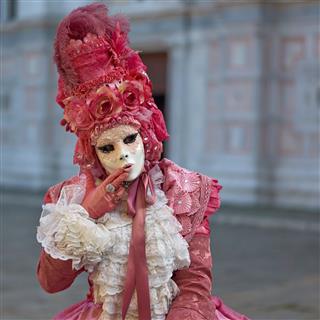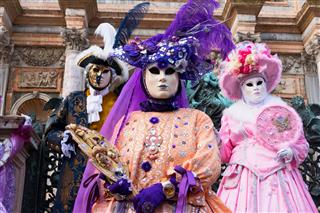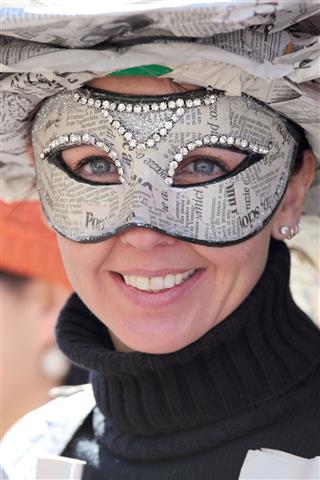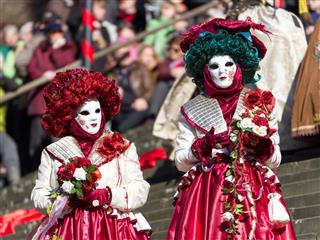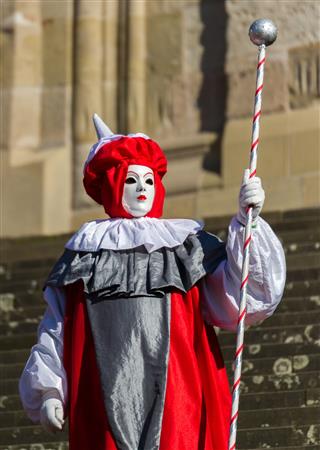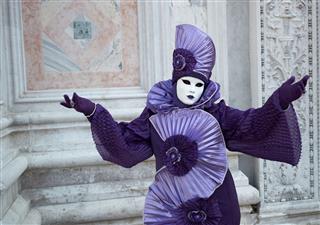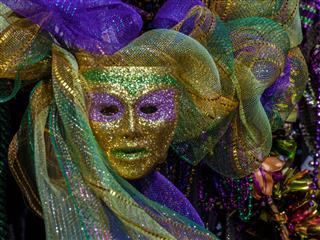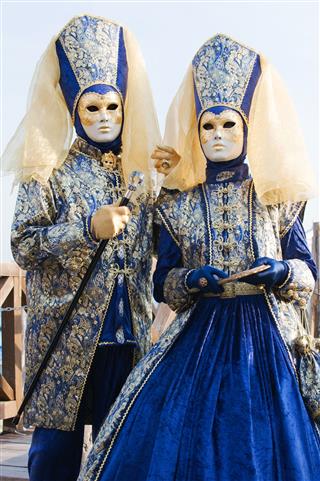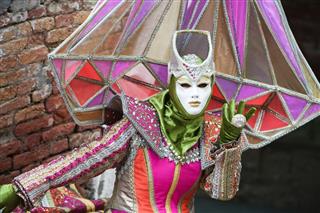
Who doesn’t love paper mache? It is not only fun, but also easy to make. Learn some simple ways of making paper mache masks in this CraftCue article.
Making a paper mache mask is a simple and interesting activity, which your child is sure to enjoy. The materials required for this activity are easily available at home, so you don’t need to search far and wide for them. This is rather a messy activity, so please don’t forget to cover your work area or ‘workstation’ with a layer of newspapers or a plastic tablecloth before beginning.
Things You’ll Need
A round balloon, paper mache paste, newspaper strips, plastic wrap, scissors, acrylic paint.
Procedure
- Blow up the balloon to a desired size, knot its end, and keep it aside. You can also place it in a bowl. If you place it in a bowl, remember to wrap the bowl with plastic. This prevents the paper mache from sticking to the bowl.
- Make paper mache paste by mixing 1 part of flour with 5 parts of water. Boil this mixture and simmer for about three minutes. Add one or two tablespoons of salt to the mixture and allow it to cool.
- Once cooled, pour the paste into a large plastic bowl. Take the newspaper and cut it into several strips, one-inch wide and 4-6 inches long. Dip these newspaper strips into the paste and stick them on the balloon.
- Cover the balloon completely with these dipped strips. If you have kept it in a bowl, leave the area that is sitting on the bowl. Let the first layer dry for at least 24 hours.
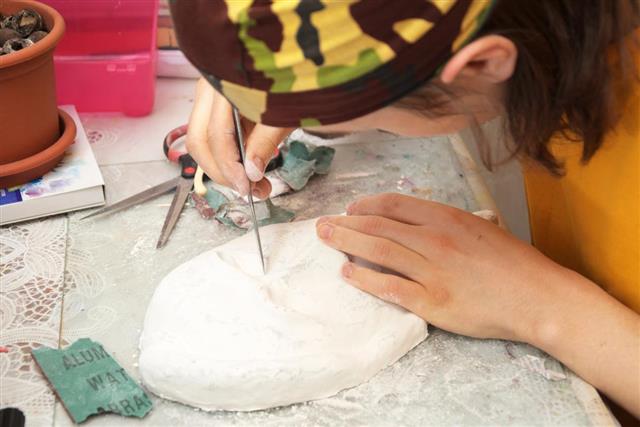
- Add two more layers to the balloon. This time, you can mold various facial features like nose, ears, lips, etc. Once the paste has dried completely, pop the balloon and give the desired shape to your mask.
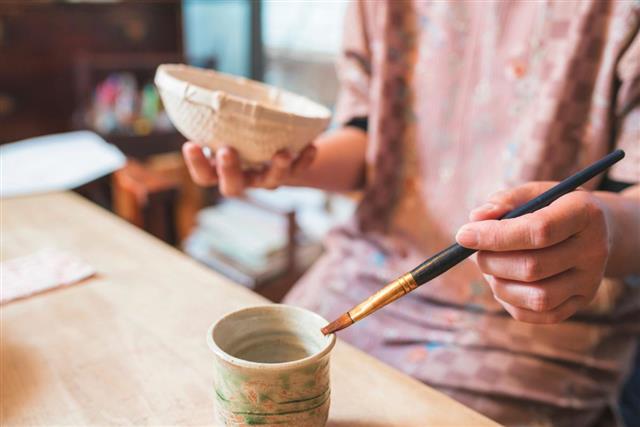
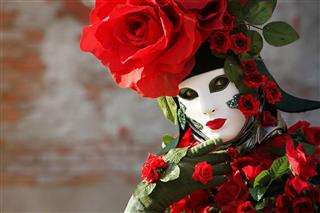
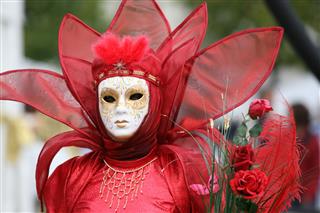
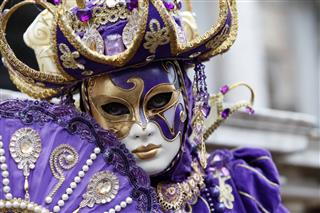
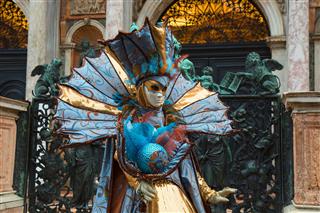
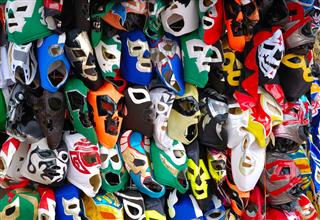
- Using scissors, you can cut out the shape of the eyes as desired. You can cut out triangles, circles, ovals, or squares. Now using acrylic paints, you can paint and decorate the mask. You can also add feathers, or even hair using yarn. You can also make a small hole at each side of the mask for attaching a rubber band to hold the mask properly on your face. Your paper mache mask is now ready to wear.
- If you want to give it a mummy-mask look, after two newspaper layers, place a white paper layer on it. You can also use a milk jug instead of a balloon.
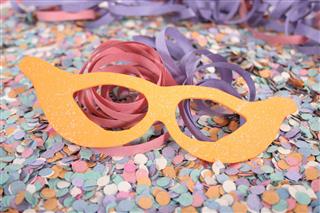
- Cut the milk jug into two parts from top to bottom. You can use either of the two parts and make an interesting mask out of it. You can even make ‘half masks’ also called ‘eye masks’ from this material. The procedure for making these is same as above, except that you won’t need to cover the whole balloon. You can take an oval shaped balloon and cover only one side of it. There’s no need of molding any facial features.
- Once the mask is dry, shape it out as desired using the scissors. Remember that it is a half mask, and therefore, it should cover only the eyes. Again, using scissors, cut out the shape of the eyes. Make small holes on both sides and attach an elastic band so that it holds properly on the face.
Aren’t you excited about starting this activity ASAP? Good luck, and don’t forget to have fun!
