If you want to decoupage on wood, but don’t know the technique, then you are on the right page. In this article, we are going to teach you all about decoupaging on wood.
Decoupage is a technique of pasting small pieces of decorative paper on a surface, and then painting over it with clear varnish. It is a great way to decorate furniture and other decorative items. It is not very hard to do on wood, once you have the right materials and know the right technique. Your old wood furniture can get a new lease of life with decoupage. Before you can start a project, you have to know how to prepare wood for this technique. Simply gluing together pieces of paper over untreated wood is not going to give you good results. You have to first polish the wood, and sand it down to create a proper texture and surface. Here, we will learn how to go about creating beautiful crafts with decoupage.
How to Decoupage Wood
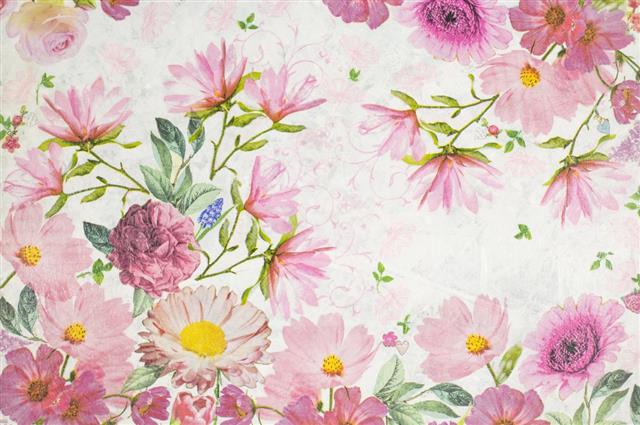
Step #1: For decoupaging on wood, you need to first have a specific design in mind. You also need to decide the kind of paper or materials you want to use. Old magazine pictures, old photographs, posters, greeting cards, gift wrappings, postcards, and art prints can all be used for this art. In fact, greater the number of such different materials used, better will your end product look. Using different materials with varied textures lets you be more creative, and results in a lot of variation in terms of design and textures.
Step #2: After you have chosen the pictures and cutouts, it is a good idea to apply a coat of thin, white glue that has been diluted in water. This will prevent the words printed at the back of the picture from showing through, after decoupaging. Now, cut out the pictures carefully with a pair of scissors.
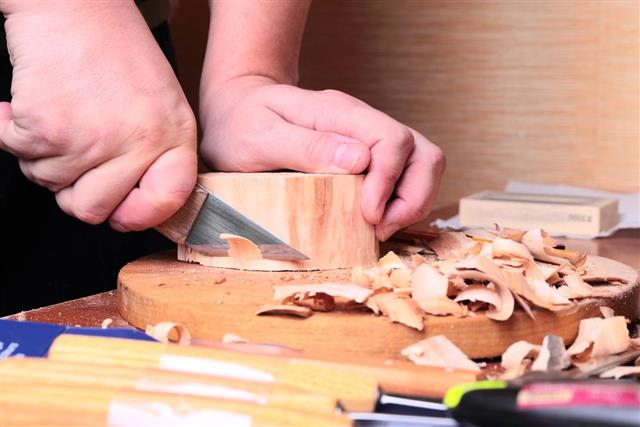
Step #3: The most important part is preparing the wood. For this, you need to remove all dirt and grime from the wood, and then sand it down. Sanding with a fine grit sandpaper allows you to get rid of any glossy finish or old varnish. A rough surface is essential, since the paper won’t stick to a smooth surface. Fill up cracks, and smooth down splinters in the wood.
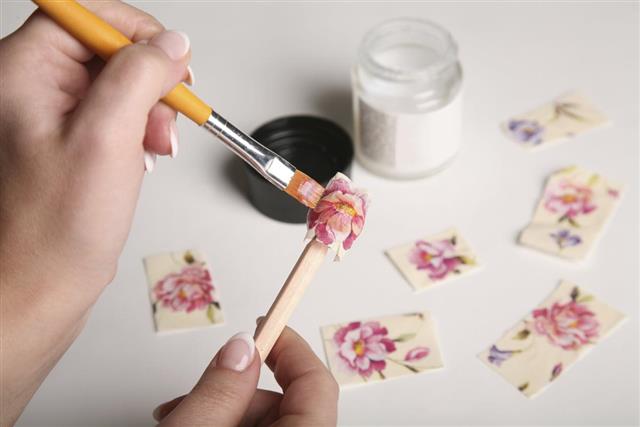
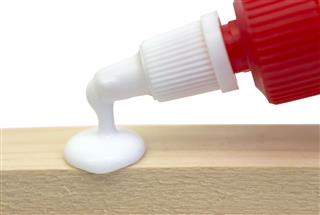
Step #4: For gluing the cut outs to the wood, you need mod podge glue. It is available in any craft store or home improvement store. Apply a coat of mod podge liberally, over the back of the cut outs, and place them over the wood. If there is any excess glue seeping out, wipe it off with a damp cloth. Roll a wooden or plastic roller over the cut out to make sure that it is completely flat against the surface. In this way, cover the entire surface with cut outs. You can also overlap the pieces for an interesting effect.
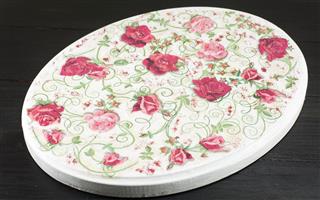
Step #5: After you are done with the decoupage, apply a single coat of clear varnish over the wood. Let it dry for over 24 hours. Once it is set, and the wood is dry, apply another coat of varnish. This will help to protect the decoupage, and keep it away from dust.
You can also use other materials like beads, shells, and sequins to make the craft more interesting. It is also possible to decoupage wooden letters, and these can be used in your child’s nursery. Decoupage is a very easy art, and you can transform any piece of old furniture or make decorative items through it. It is a funky painted furniture idea that has a great appeal.
