Balloons are a great idea for decorating party venues. Especially if it is your toddler’s birthday, having inflated balloons in the shape of animals at the venue will just take the party to a whole different level of fun and excitement. It gets easier if you follow the stepwise instructions given in this CraftCue post.
Making Tip
While making balloon animals, preferably use new instead of old, stored ones. Older balloons have the probability to pop when you inflate or twist them.
If you thought that a balloon could only be blown in circles and ovals, then you are missing out on so much fun! If done right, you could organize an animal-themed party with balloons in the shape of a dog, guinea pig, cat, lion, tiger, giraffe, mouse, and monkey; you name it, and it can be done. This article lets you in on the tricks and helps you get started with a few.
DOG
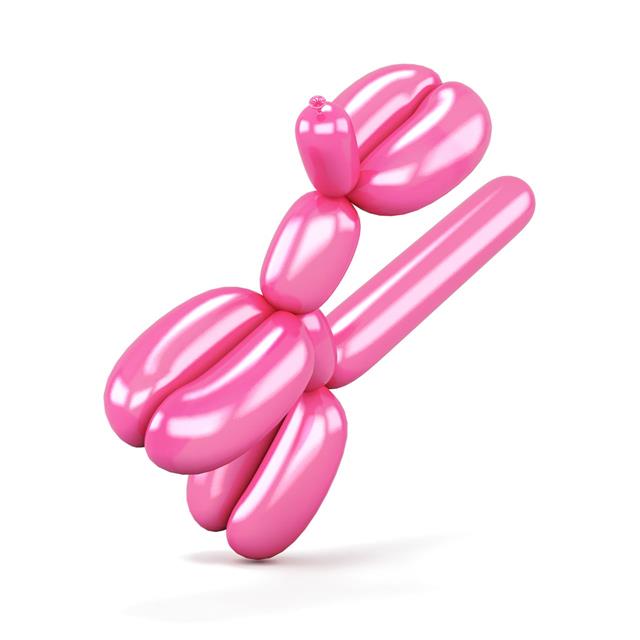
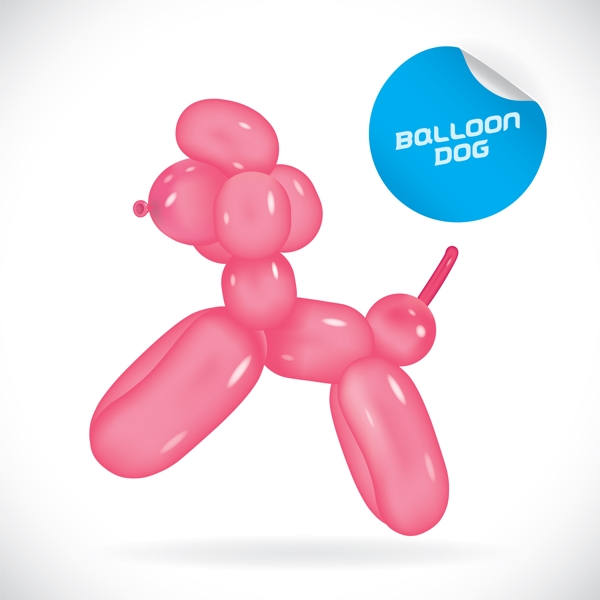
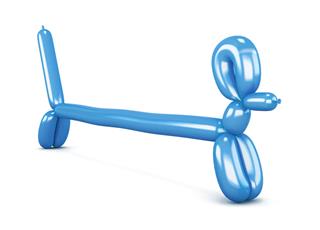
The number one favorite among kids, the party won’t get started without the dog. This is a very popular shape and one of the easiest to make. Once you get this shape right, a foundation for making the rest of the animals of the jungle is laid. You will just need a #260 balloon to create this fun piece of art.

Instructions
- Take a #260 balloon and inflate it. At the tail end, leave 4 inches uninflated.
- Now, from the nozzle end, twist the balloon for about six inches.
- Now, squeeze the two parts of the folded balloon about 2 inches from the fold.
- Twist the squeezed portion further; two or three twists should do the trick. These are the ears of the doggy, and the knot is its nose.
- Now, for the front and back legs. They are made in the same way as the ears. Fold the balloon an inch below the twist that formed the ears. Twist the balloon to form the front legs of the dog.
- Last but not the least, fold the balloon 2 inches away from the twist that formed the front legs. Now, twist. Your happy helper doggy is ready.
MONKEY
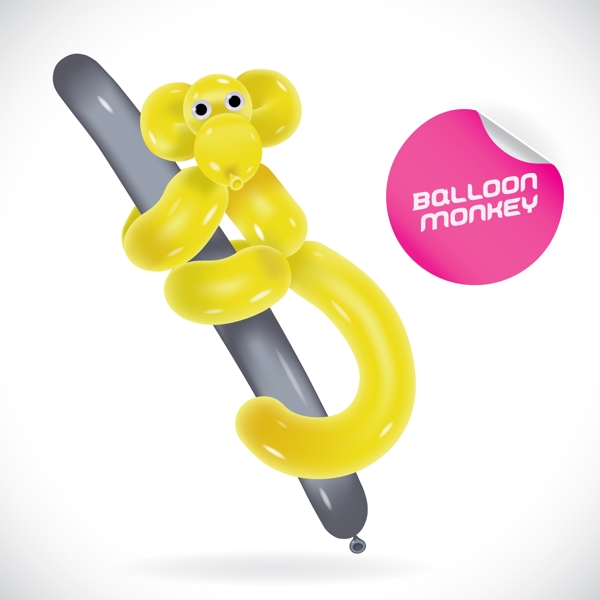
This is a very cute shape. It is sure to bring a smile to a sullen face. More so, it is easy to make, since you now already know how to make a balloon dog. Except the head of the monkey, the rest of its body is made in the same way as the balloon dog.

Instructions
- Take a size #260 long balloon. Inflate it leaving about 6 inches uninflated towards the end.
- At the nozzle end, twist an inch of the balloon to make the nose of the monkey.
- Next, make two similar (the one you made in the above step) twists in succession. Fold one to bring it at the same level as the second one, and pinch them together to make a ear.
- Immediately after this, twist an inch of the balloon to make the forehead of the monkey and repeat the previous step to form the other ear. Align the twists appropriately to make the head of the monkey.
- Following this, you will essentially carry out the steps you did to form the body of a balloon dog. Twist two inches of the remaining inflated balloon twice. When you lock these two, they form the front legs of the monkey.
- Twist two inches of the remaining inflated balloon thrice. The first twist is the torso/body, and the remaining two when locked together form the hind legs. The remaining portion of the balloon is the tail of the monkey.
- Inflate another balloon in a different color, which can be used as a pole for the monkey to hold on to.
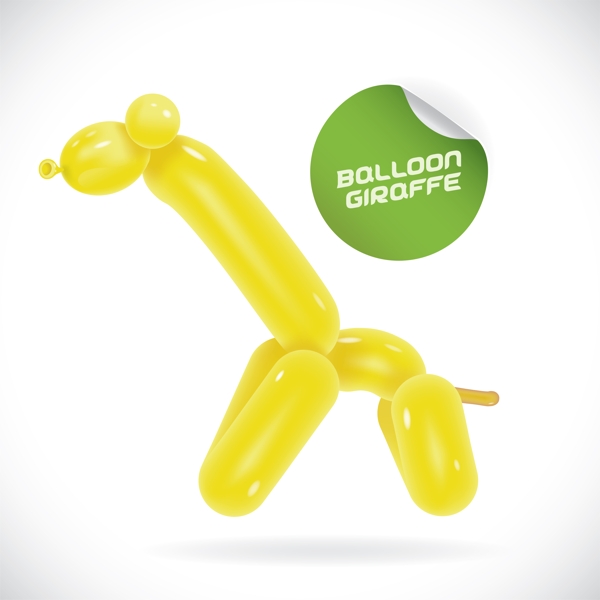
GIRAFFE
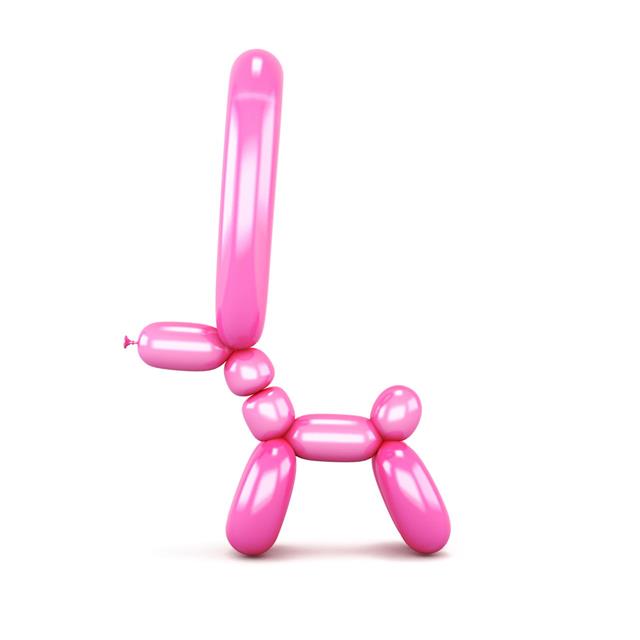
This one is a piece of cake. It is kinda similar to the dog.

Instructions
- Take a #260 balloon and inflate it. At the tail end, leave 4 inches uninflated.
- Now, from the nozzle end, fold the balloon about six inches.
- Now, squeeze the two parts of the folded balloon about 2 inches from the fold.
- Further, twist the squeezed portion. Two or three twists should do the trick. These are the ears of the giraffe, and the knot is its nose.
- Now, for the front and back legs. They are made in the same way as the ears. Fold the balloon a few inches below the twist that formed the ears. Twist the balloon to form the front legs of the giraffe.
- Finally, fold the balloon 2 inches away from the twist that formed the front legs. Now, twist. You will notice that we kept a longer neck as compared to that of the dog.
TIGER
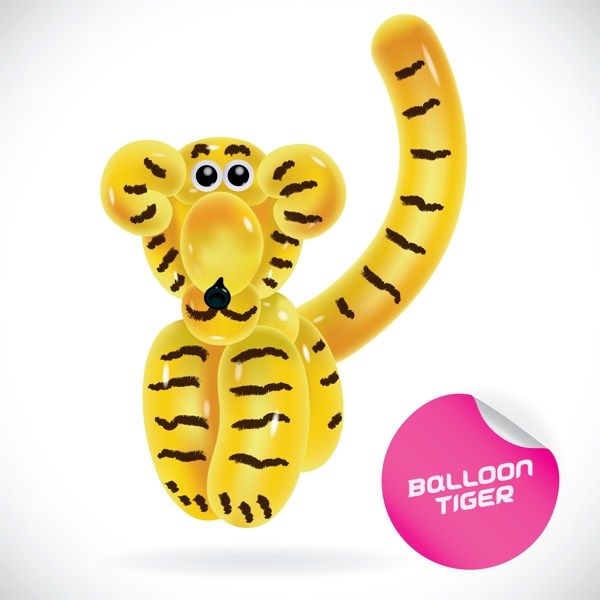
This could either turn out to be a tiger, a leopard, a cheetah, or any wild cat you want it to be. It depends on the stripes or prints you draw on it. Use a black felt marker for the same. To make it into a balloon tiger that seems more realistic, use a balloon that is yellow in color. Otherwise, wild cats in pink, orange, or black look cute, too. Since this is a slightly complicated craft, you are required to have mastered the art of making a balloon dog.

Instructions
- Take a #260 balloon and inflate it, leaving about 6 inches uninflated towards the other end.
- At the nozzle end, twist an inch of the balloon to form a small circle.
- Repeat the above step to form one more circle in a size that is slightly smaller than the first one.
- Bring these two circles together, side by side, and make a pinch twist to hold them together.
- Twist another inch of the inflated balloon to form a circle in the same size as that of the first circle. Lock it with a pinch twist.
- Twist one more portion of the inflated part of the balloon to form a circle that is in the same size as that of the second circle. You are done making the head of the tiger.
- For the nose, split the first twist exactly into half by making a basic twist at its center. Bend this into make the nose or the snout, and secure it by pushing it through the center of the head and pulling it out of the back.
- To make the body of the tiger, follow the steps that you followed to make the body of a dog.
- Use a marker to create an animal print of your choice on this balloon wild cat.
For some of you, the steps mentioned in this article might not be enough. You can refer to online videos that explain how to make these animals and simultaneously try out the same. Be patient with yourself, while following these tips, if this is your initial attempt. Practice makes one perfect, right?
