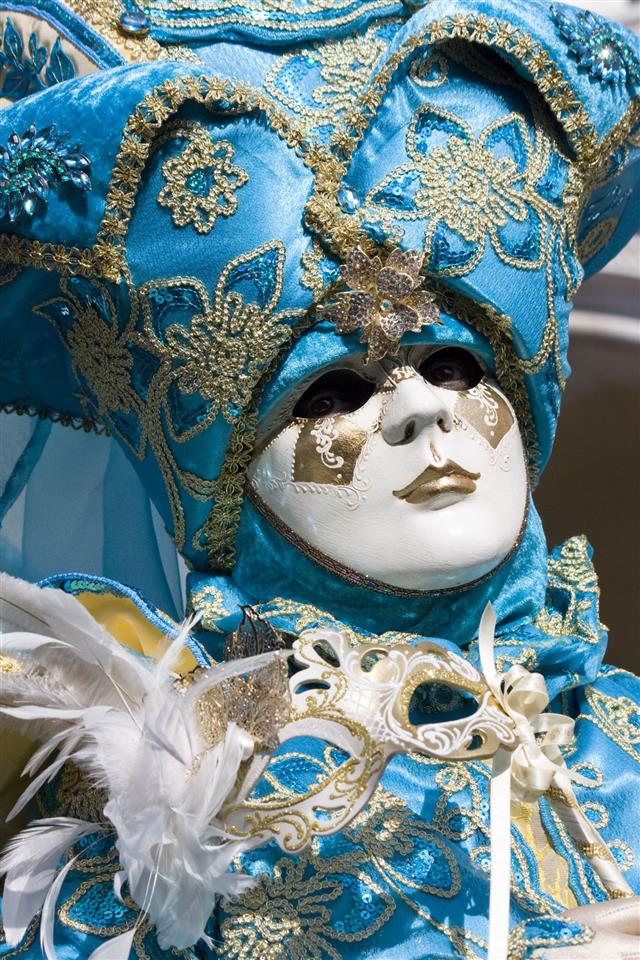
Masks are popular accessories at theme parties and are also used to adorn the walls of homes. If you want to indulge in a bit of messy fun, then, making paper mache masks is the activity for you. Indulge in a creative and fulfilling pastime with some of these ideas given here…
Making paper mache masks is a great way to utilize all the scrap pieces of paper that would otherwise end up in the dustbin. Besides, it serves as a great pastime activity when you are forced to be indoors. It is the messiness, that makes mask making all the more fun an activity that you can look forward to. Let’s get down on our knees and get crafty…
Things needed to create a unique mask
The essentials
» Paper
» Glue
» Flour
» Water
The others
» Balloon
» Dummy
» Mold
» Old mask

Paper Roll as a Base


Step 1: Start by twisting the paper into the desired shape. Be sure to put in the minute details of the nose and lips.
Step 2: In a glass/plastic bowl mix one part of water with three parts of glue or mix flour in water to get a thick mixture.
Step 3: Tear strips of paper and dip it in this mixture.
Step 4: Allow to drip and paste it on to the mold that you have made.
Step 5: Cover the entire base by overlapping strips of paper.
Step 6: Allow first layer of paper to completely dry and harden.
Step 7: Repeat steps 2 to 6 for another three layers.
Step 8: Once all the layers are dry and hard, separate out the roll of paper from the mask.
Step 9: To give it a smooth finish add a layer of tissue paper dipped in glue.
Step 10: Once dry, ensure you cut out the eyes and nose sockets.
Step 11: Apply a coat of paint to make it look interesting.
Step 12: Attach a ribbon or a wire to use or hang the mask.
Dummy as a Base
Step 1: Prepare the dummy to serve as the base.
Step 2: Simply coat the face with a layer of Vaseline or oil and you have your base ready.
Step 3: Dip the pieces of paper in a glue solution or a flour and water mixture.
Step 4: Stick these pieces of paper on the dummy.
Step 5: To get a strong and durable mask, first cover the main parts of the face – jawline, forehead and the chin.
Step 6: Cover the entire face with overlapping strips of paper.
Step 7: When dry remove the mask from the base and add an additional layer on top.
Step 8: You can either leave the mask with a bumpy and rough texture or add a layer of tissue paper to give it a smooth look.
Step 9: Apply a layer of white paint and finish it with accessories of your choice.
Using a Mold or Old Mask as Base
Step 1: Place the mold/plastic mask in a tray.
Step 2: Boil strips of paper till it becomes a thick pulp.
Step 3: Allow to cool and add a bowl of glue or flour mixture to the pulp.
Step 4: Pour this into the tray containing the mold or the mask.
Step 5: Allow it to sit untouched for a week so that it hardens out.
Step 6: Once dry remove from mold and add the details.
Step 7: Finish it with a layer of paint to make it look attractive.
You can also use a balloon or a coconut shell as a base to give your mask the desired shape. The method to be followed is the same, all you need to remember is to add one layer at a time and allow it to dry completely before adding the next layer. You can make any kind of mask following these steps. Have fun and let your creative juices flow…


