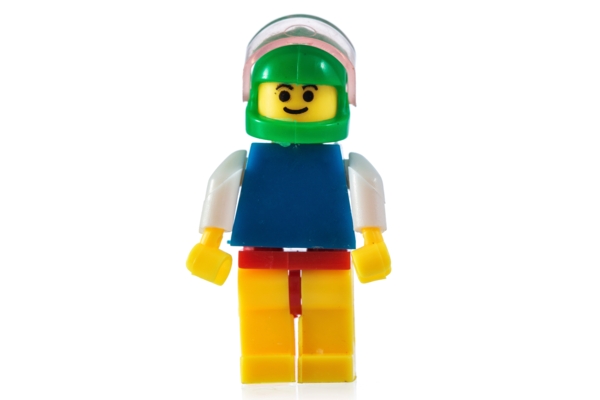
We have been playing with Lego since we were kids, stacking the bricks up one by one, trying to make something out of a box full of colored bricks. At some point or the other, we thought, why can’t we paint faces and features on our Lego minifigs? To answer that, here’s a guide for making your own Lego minifig decals.
When you sit down to actually make a decal for your Storm Trooper or Cowboy, you will slowly realize the patience required for the effort. Think Zen masters, standing on logs in the middle of a lake on one leg for hours together and you’ll get the kind of precision, grit and time you will be putting in to make your very own decal.
Making a Custom Lego Decal
Here is a step-by-step guide of things to do to get you your own Lego decal.
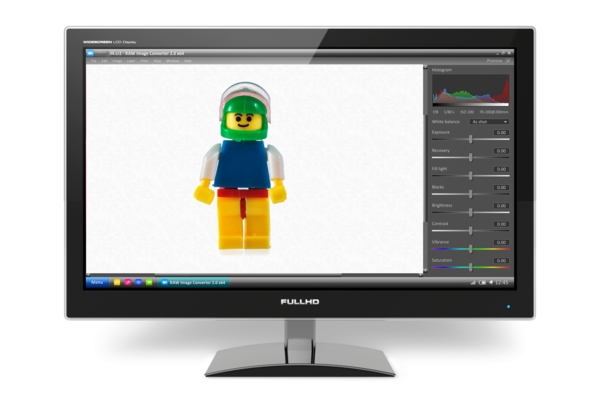
Get an Editor
When you sit down to actually make a decal for your Storm Trooper or Cowboy, you will slowly realize the patience required for the effort. Think Zen masters, standing on logs in the middle of a lake on one leg for hours together and you’ll get the kind of precision, grit and time you will be putting in to make your very own decal.
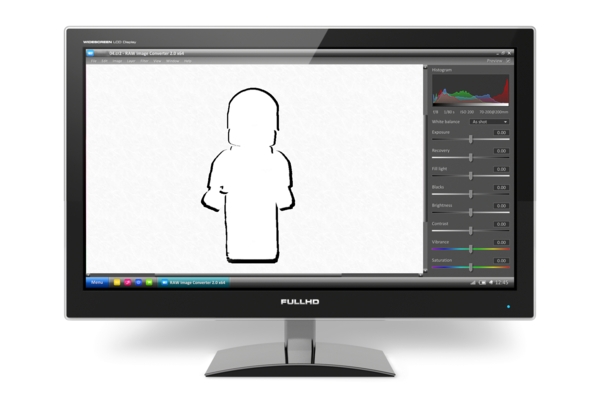
Design the Outline
Start on a blank model design with only the outline in black. The size of this outline image should be exactly the same as the Lego minifig’s dimensions. Either that or you can start with a larger copy and re-size the final decal to match the figure. You can start out by taking the basic measurements of your Lego figure and use that to draw black lines in the image editor. Once you have built the outline, print it on normal paper, cut out the parts on the paper and hold each part against those on the Lego minifig blocks. Keep changing the outline dimensions till you get them right. Once you do, save the image and never delete it. You will be using this model to design your decals in afterwards and for all minifigs. There is also a chance that the dimensions may change slightly if you change your printer or your editing software, at which time you’ll have to remake the outline.
Cleaning the Figure
Your Lego figure may or may not have prints on it already. In any case, if the figure is old, you’ll have to clean it up a little. To do this, you need a product known as, or similar to “Brasso”. It is a cleansing agent used to clean brass surfaces and give them the original sheen. Brasso can also be used to get the paint off a Lego figure. If your figure is old, it will need similar cleaning to get the dirt off it and return it to its original color. Take some Brasso on a rag and wipe the figure with it. Keep rubbing gently till the paint comes off completely. Dry out your figure with a dry cloth. Your minifig is now ready to get decals.
Preparing the Decal
There will be two ways to go about this; get one online or make your own. Creating your very own minifig decal is a tough thing to do, especially at the start. You may use ideas from the Internet as you start and once you get better, you will be able to make the most detailed of decals on any minifig. Just know that it will probably be a little difficult getting the right things into your decal, which means what you made in the editor may not be what gets imprinted on the figure. Don’t be disheartened, it’s just the start. If you’re making your own design, you need to make sure to include the figure’s 3-dimensional plane. Imagine drawing on the figure instead of the paper or the screen.
Getting the Decal on the Figure
This is the harder part, because even if you’ve toiled away for hours on creating your decal, you had the undo button with you. If you mess up here, you’ll have to start over again.
- Print the design onto the decal paper, on its rough side. Dry out the print for at least 20 minutes.
- Don’t be hasty and try to blow-dry the ink, you might spread it. Also, make sure you don’t get too much ink on the paper, they will start mixing together as they dry.
- Take a sharp-pointed knife and with a very firm hand, cut out the print from the rest of the paper. Make sure you don’t cut into the print. Also, make sure you don’t have a lot of paper on the outside the print. When you put it on the figure, the paper dries out into a grayish color, which might make the decal look bad.
- Once you got the print out, hold it in a pair of tweezers or tongs and submerge it in a bowl of water. The water should not be cold, preferably at room temperature or maybe slightly warm. Hold the decal paper there for about 5 to 10 minutes. To check when you can take the decal out, the lower side of the paper must get removed easily enough, without stripping off the glue from the print.
- Keep the paper to soak outside the bowl for another minute or so. After that, remove the backing paper off the front print gently. Place the print onto the figure. Use a cotton swab to slowly put the print in the right place on the figure. After the print goes into the right place, roll the swab over it to make sure you don’t get any air bubbles between the figure surface and the print.
- After the print dries up, brush off any extra stuff that sticks out of the surface and coat the print with varnish, decal sealant or glaze gloss. They protect the print from the weather and also give a good, clean finish.
Once made properly, you can enjoy the figure for years to come. All in all, you need very steady hands when you make the decal, so it will take a little extra practice for that. But once you do, you can make any kind of details on your decals you want.


