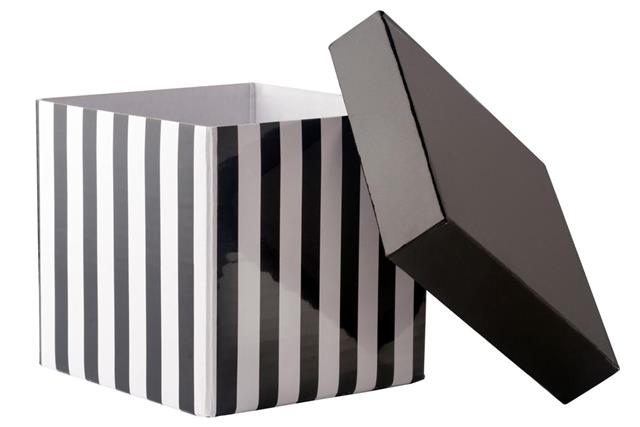
Construct paper mache boxes without having to purchase extra supplies. Read the CraftCue article to find instructions on how it’s done correctly.
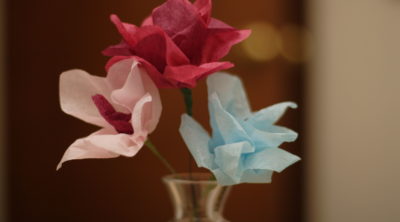
Call it paper mache or Papier-mâché, you can make piñatas, masks, solar system, molds of animals and birds, and tissue paper flowers with it.
Making the Paste
Before we can begin, go through the following recipes and pick one that you feel you can work with. You can choose the first recipe that has flour, water, and newspaper, or the second recipe that uses glue, water, and newspaper.
Recipe #1
- Gather the ingredients―1 part flour, 3 parts water, and old newspaper. You can use other craft or scrap paper as well.
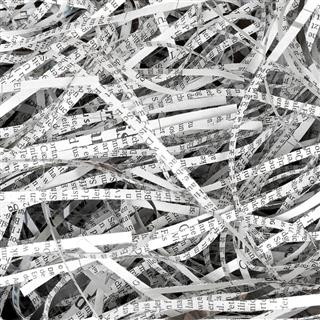
- Make long strips of newspaper. Keep it aside and move to the next step.
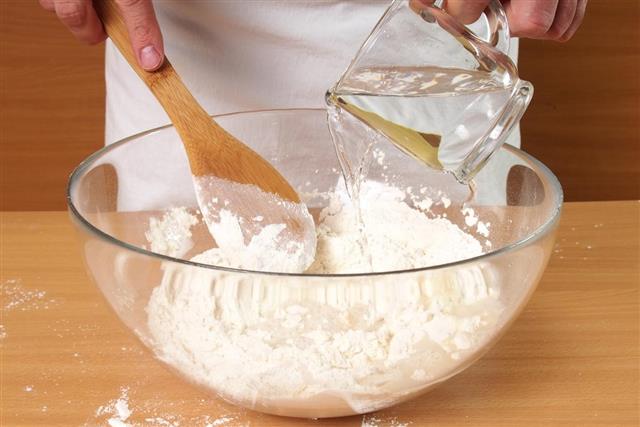
- In a bowl, add flour, and then slowly, add water to make a smooth paste.
- Stir the mixture with a spoon. Dip strips of newspaper into the paste before you use it.
- If you have leftover paste, put it in a jar and store inside the refrigerator. This will preserve the paste for a few days.
Recipe #2
- Gather the ingredients―2 parts white glue, 1 part warm water, and old newspaper. You can use other craft or scrap paper as well.
- Make long strips of newspaper. Keep it aside and move to the next step.
- In a bowl, add water and then the glue to make a smooth paste.
- Use a spoon to mix, dip strips of newspaper into the paste and use it.
Making the Boxes
You can use different sizes and shapes of boxes for this project―oval, round, rectangular, heart-shaped, or square. That’s the best thing about paper mache projects; you can mold it in any shape you like. Once you have decided what size boxes you want, go through the following steps to make the boxes.
- Get the paste (flour or glue), scissors, newspaper or craft paper, and the boxes.
- You want to make long, thin strips of newspaper or craft paper.
- As for the paste, make sure that it doesn’t turn lumpy or thick while using it. If so, then add a little water to get the right consistency.
- Dip one strip of newspaper in the paste so that it gets coated properly.
- When you lift the newspaper strip, remove extra paste off it, using your index and middle finger.
- Take the cover of the box and place the strip over it. Make sure it is flat and isn’t bunched up anywhere.
- Keep placing the strips till you have one good layer on the cover and outside the box.
- Leave the box aside and let the first layer dry completely. You can add another layer to make the box even more sturdy.
Once the layers are completely dry, you can paint the boxes, or use embellishments to decorate them. Tie a pretty ribbon on top (with a gift inside, of course) and give it to someone special. The steps are simple to follow, and once you have the items you require, it doesn’t really take that much time also. Now let’s see how you can put it to good use.


